Wednesday, January 11, 2017

Boondi Rabdi /Boondi Rabri


Entering the second week of Blogging marathon edition 72 with milk based desserts/sweets.For day 1 its boondi rabdi,one of the tastiest sweet,my family likes.Its a nice way to use the left over boondi or boondi ladoo. I made a larger quantity of  Boondi for Diwali and it lasts more than week.After a week we got bored to eat the same boondi,so tried this boondi rabdi for our week end lunch.The sweet came out extremely delicious and kids loved it a lot.

Coming to the recipe,the rabdi can be made in advance and chilled.Boondi can be added before serving.This sweet can be served both chilled or at room temperature.

This post has been lying in the drafts since some time and due to my laptop issues,I couldn't edit the pictures.Finally I am sharing the recipe today which fits for the theme.Let's move on to the recipe.......


                                                  Boondi Rabdi/Boondi Rabri


   Basic Information

   Preparation time 10 minutes
   Cooking time 30-35 minutes
   Chilling time 2-3 hours
   Serves 3 (generously)


 Ingredients


Ingredient
Quantity
Milk/Paal(whole milk preferably)
2.5 cups
Sweetened condensed milk
2-3 tbs(optional)
Sugar/sakkarai
3-4 tbs
Almonds and pistachios
3  tbs(finely chopped)
Cardamom powder/ellakai podi
a generous pinch
Saffaron/kungumapoo
few strands
1 cup


 Method 
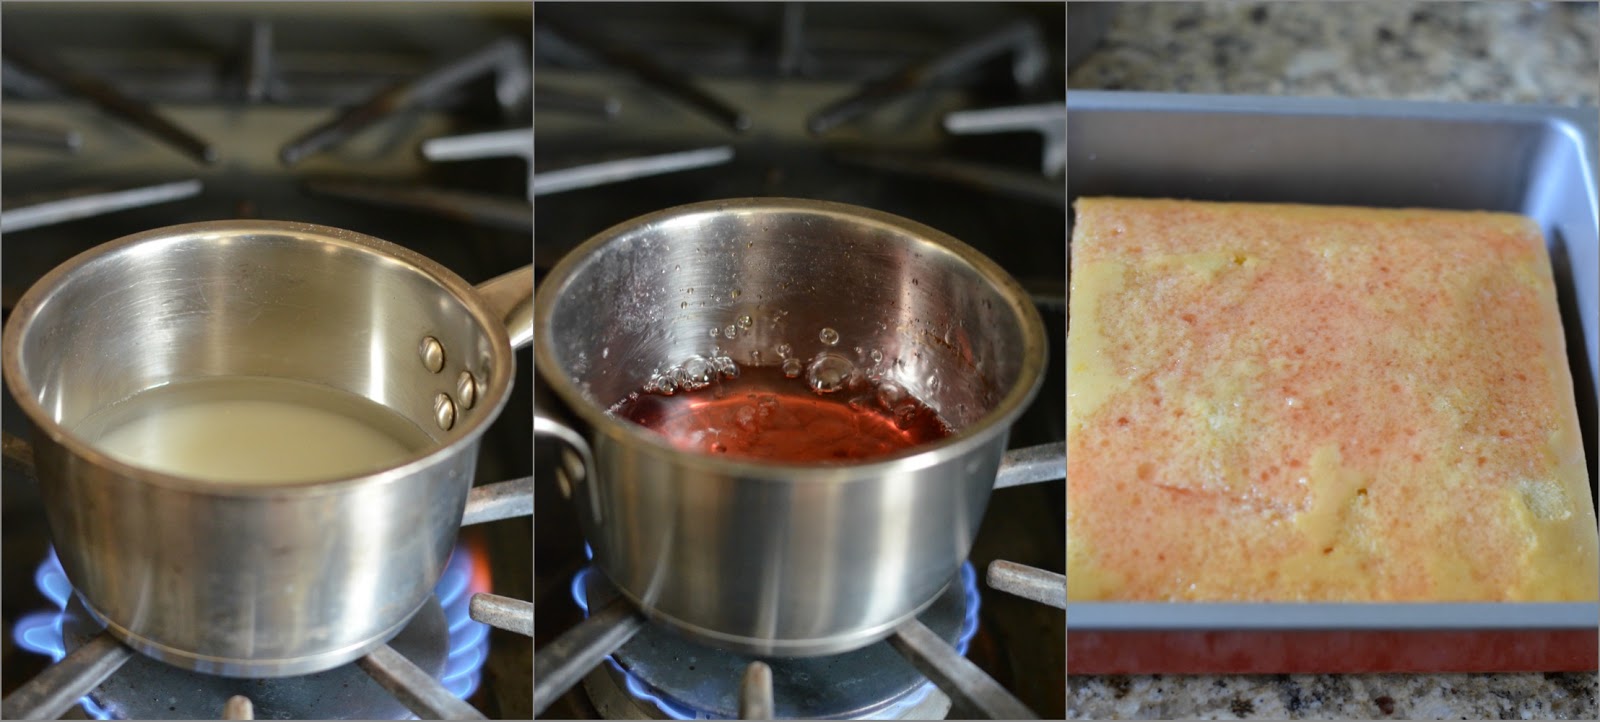
  • Take the milk in a pan and keep it on a stove top and let it boil.After boiling simmer it and scrape the sides of the pan and stir in continuously to prevent burning.Meanwhile soak saffron in a tsp of milk.Add in the sugar and condensed milk,let it boil for 5 minutes.Now add in the finely chopped nuts.
  • Let it simmer for another 3-4 minutes.Now add saffron soaked milk and mix it well.Boil it for couple of minutes.Add the cardamom powder and put off the flame.
  • Once the rabdi/rabri comes to room temperature,chill it in the refrigerator.Now in individual serving bowl add the boondi and top it with the chilled rabdi as needed.Garnish it with some chopped nuts and saffron.Refrigerate for 10 minutes if needed.

  • Serve it.


  • The amount of sugar can be increased according to personal preference.Since boondi has sweet I added around 4 tbs only.
  • Tastes better when it is served chilled.
  • The consistency of the rabdi will be thick after cooling.If you feel its too thick after chilling add some milk and adjust it.
  • The color gets deeper after cooling as the saffron it getting soaked.
  • As Boondi has cashews,I added only almonds and pistachios.
  • If you are using boondi ladoo,crumble the ladoo and use it.


Enjoy.....................


 Entering the second week of Blogging marathon edition  Boondi Rabdi /Boondi Rabri


Check out the Blogging Marathon page for the other Blogging Marathoners doing this BM#72


Sumber http://www.naliniscooking.com

Friday, January 6, 2017

Carrot Banana Orange Smoothie /Carrot Smoothie


I was totally clueless for today's smoothie recipe and decided to make smoothie bowl.But I was running out of some of the ingredients and finally ended up in making this smoothie.

I often make carrot juice for my kids as they like it and its a nice way to include carrots in their diet.While making this juice I got the idea of making smoothie along with some frozen banana.The smoothie came out so delicious and creamy,kids liked it a lot.Also the use of fresh orange juice makes this smoothie so tasty and refreshing.


                               Carrot Banana Orange Smoothie/Carrot Smoothie


   Basic Information

   Preparation time 7-10 minutes
   Serves  2


  Ingredients

Ingredient
Quantity
Banana(frozen)
1(chopped)
Carrot(chopped)
1 cup
Orange juice(freshly squeezed)
1 cup
Water
1/2 cup
Honey or brown sugar
2 tsp(optional)


   Method 
  • In a blender jar take the sliced carrot and add water,blend it to a very fine paste.To this add the sliced frozen banana and brown sugar.Blend it for a minute or till the banana gets mashed well.
  • Add in orange juice and whip it for 10 seconds.Transfer it to a serving glass.

  • Serve it right away.


  • Serve it immediately,otherwise the color will change as it has banana.
  • I didn't strain the carrot juice as it blends very well.If you want a clear juice then pass it through a strainer.
  • A small piece of ginger and few mint leaves can also be added for extra flavor.


Enjoy..............................


s smoothie recipe and decided to make smoothie bowl Carrot Banana Orange Smoothie /Carrot Smoothie


Check out the Blogging Marathon page for the other Blogging Marathoners doing this BM#72


Sumber http://www.naliniscooking.com

Thursday, January 5, 2017

Banana Berry Smoothie


Coming to day 2 under Smoothies is a popular and kids favorite banana berry smoothie.If you have over ripe bananas then freeze it for an hour,whip up and make this yummy healthy smoothie for breakfast or snack.

Here I used the low fat milk and some almonds for added nutrients.Berries of your choice can be added.Also plain or flavored yogurt can also be used  instead of milk.Off to the recipe..........................


                    Banana Berry Smoothie


   Basic Information

   Preparation time 7 minutes
   Serves  2


  Ingredients


Ingredient
Quantity
Banana(frozen)
1(chopped)
Mixed berries
(strawberry,blueberry and raspberry)
1/2-3/4 cup
Sliced almonds
2 tbs
Chilled milk
1 -1.5 cups
Honey
2 tsp(optional)


   Method 
  • In a blender jar take the berries,sliced banana and almonds,blend it to a smooth paste.Now add the milk and whip it for a minute.

  • Transfer to a serving glass and serve it immediately.


Enjoy..........


 under Smoothies is a popular and kids favorite banana berry smoothie Banana Berry Smoothie


Check out the Blogging Marathon page for the other Blogging Marathoners doing this BM#72

Sumber http://www.naliniscooking.com

Tuesday, December 27, 2016

Bakery Style Salt Cookies


Salt cookies aka salt biscuits are quite popular cookies available in most of the bakeries in India.The cookies are mouth melting and perfect with a cup of tea or coffee.

I used to get these cookies from local Indian bakery but wanted to try since long.I couldn't get a proper recipe for this particular cookie.Finally I saw a YouTube video and the measurements were not clear.Then I tried my own measurements with the ingredients mentioned.After couple of trials I got a perfect mouth melting cookie.Try these yummy cookies and enjoy the holidays.


                                                     Bakery Style Salt Cookies


   Basic Information

   Preparation time 15 minutes
   Chilling time 10-12 minutes
   Baking time 15-18 minutes
   Makes 14-16 cookies


  Ingredients


Ingredient
Quantity
All purpose flour/maida
1 cup+2 tbs
Corn starch
2 tbs
Custard powder
1 tbs
Milk powder
2 tbs
Salt
3/4 tsp
Baking powder
a pinch
Powdered Sugar/sakkarai
1.5 tbs
Butter/vennai
1/2 cup or 1 stick
Milk
1 tbs(if needed)


   Method 
  • Mix in all purpose flour,custard power,corn starch,milk powder,baking powder and salt in a bowl and keep it aside.
  • In a bowl take the butter and powdered sugar.Cream it well,to this add the all purpose flour mixture,mix it well.
  • If the dough is too crumbly then add some milk and knead it to a smooth dough.Now divide the dough into 2 equal parts and roll it on a parchment paper with a rolling pin to 1/4 inch thickness.Cut the rolled dough into desired shape with cookie cutter. Arrange the cut dough on a lined baking tray.Now with a fork gently prick on the surface of the cut dough to form some patterns. 
  • Refrigerate the tray for 10-12 minutes.Now preheat the oven at 350 F and bake it for 15-18 minutes or till the edges turned brown.Remove it and cool it on a cooling rack.
  • Store it in an air tight container after its completely cool down.


  • The cookies will be crispy once its completely cool down.Do not bake it more than 18 minutes.
  • Instead of icing sugar,regular sugar can be powdered and used.
  • The butter should be in room temperature.
  • If salted butter is used add around 1/4 tsp of salt.


Enjoy.......................


Sumber http://www.naliniscooking.com

Saturday, December 24, 2016

Kaju Pista Cookies/Cashew and Pistachios Cookies


Cashews and pistachios cookies are yet another mouth melting cookies flavored with cardamom powder.I have bookmarked the recipe from here but altered slightly and made it according to my family's taste.

The cookies came out so good with the crunchiness of nuts and the cardamom flavor.The nuts need to be chopped very finely and added to the dough.The dough can be rolled out and cut with cookie cutter.But I sliced the chilled dough and baked.Either way it turned out good.My kids enjoyed it to the core.Off to the recipe.................


                             Kaju Pista cookies/Cashews and Pistachios Cookies


   Basic Information

   Preparation time 15 minutes
   Chilling time 30 minutes
   Baking time 15-18 minutes
   Makes 22-24 cookies


   Ingredients


Ingredient
Quantity
All purpose flour/maida
1.5 cup
Butter/vennai
3/4 cup or 1.5 sticks
Custard powder
2 tbs
Icing sugar or powdered sugar
1/2 cup+1 tbs
Salt
a pinch
Baking powder
a pinch
Cashews(finely chopped)
3 tbs
Pistachios(finely chopped)
3 tbs
Cardamom powder/ellakai
1/4 tsp
Milk(if needed)
1-2 tbs

    Method 
  • Mix in all purpose flour,custard power,baking powder and salt in a bowl and keep it aside.
  • In a bowl take the butter and powdered sugar.Cream it well,to this add the all purpose flour mixture and chopped nuts.Mix it to form a dough.If the dough is too crumbly then add some milk and knead it to a smooth dough.
  • Now divide the dough into 2 equal parts and shape it to a square or round shaped log..Wrap it in a cling wrap or parchment paper and refrigerate for 20-30 minutes.Now preheat the oven at 350 F and take out the chilled dough and slice it with a sharp knife.Arrange the slices on a lined baking tray.Bake it for 15-18 minutes or till the edges turned brown.Remove it and cool it on a cooling rack.
  • Store it in an air tight container after its completely cool down.


  • The cookies will be crispy once its completely cool down.Do not bake it more than 18 minutes.
  • Instead of icing sugar,regular sugar can be powdered and used.
  • Use a sharp knife and slice the dough.Don't slice it too thin.
  • The butter should be in room temperature.
  • If salted butter is used then no need to add salt.
  • Some chopped nuts can be topped after slicing the dough for extra taste.But do not add more nuts in the dough,otherwise slicing will be difficult.

Enjoy...........................


Sumber http://www.naliniscooking.com

Wednesday, December 21, 2016

Eggless Honey Cake/Indian Bakery Style Honey Cake


Honey cake is a popular cake available in most of the bakeries in South India.This cake is my childhood favorite and mom used to get in from the local bakery.The jam coated on the top and the desiccated coconut makes the cake even more tastier.In this cake no honey is used but a simple syrup is used to moisten the cake hence the name honey cake.
Coming to the recipe,for the base I made a simple eggless vanilla cake with few variations.Also used some freshly squeezed orange juice as the cake available in shops are orange in color.Off to the recipe......


                                   Eggless Honey Cake/Bakery Style Honey Cake


   Basic Information

   Preparation time 15-20 minutes
   Baking time 30-35 minutes
   Makes  10-12 pieces


   Ingredients


Ingredient
Quantity
All purpose flour/maida
1 3/4  cups
Corn starch
1/4 cup or 4 tbs
Neutral Oil or olive oil
6 tbs
Brown or white sugar
2 tbs(optional)
Sweetened condensed milk
1 cup
Baking powder
1 tsp
Baking soda
1/8 tsp
Salt
1/8 tsp
Orange juice
3/4- 1 cup
Vanilla
1 tsp

    For the sugar syrup

Ingredient
Quantity
Sugar
1/2 cup
Water
1/2 cup 
Food color(orange or yellow)
few drops
  
  For the topping

Ingredient
Quantity
Mixed fruit jam
4-5 tbs
Desiccated coconut
2-3 tbs
Whipped cream(optional)
as needed
(for garnishing)

 Method 
  • Take all purpose flour,baking soda,powder and salt and mix it well.Sieve it for couple of times.Grease the baking pan with baking spray or oil and dust some flour.Keep it aside and preheat the oven in 350 F.
  • Now in a bowl take the oil,sweetened condensed milk and vanilla,whisk in an electric hand blender or whisker until it becomes creamy and smooth.Now to this mixture add in the 1/2 of the sieved flour.
  • Add half of the orange juice and mix it well,Now add in the rest of the flour and orange juice alternately and mix it well.
  • Pour the batter into greased pan.  Keep it in the preheated oven.Bake it for 30-35 minutes(mine took 29 minutes) or until a tooth pick comes out clean.Let it rest it for couple of minutes and invert the cake to a wire rack and allow it to cool completely.
  • Now mix the sugar and water in a pan and let it cook for 2-3 minutes or until the sugar dissolves.Add in the food color and put off the flame.Now trim the edges and top crust of the cake.Once the sugar syrup cool down a bit,gently sprinkle in on top of the cake.Also on the sides and the bottom of the cake to get soak.
  • Take the jam in a bowl and mix it well.Now gently apply the jam on top the cake and sprinkle the desiccated coconut on top f the jam. Slice the cake carefully and top each slice with some whipped cream if needed.
  • Serve it.


  • The sweetness was just perfect with 1 cup of condensed milk,as again the cake is drenched with sugar syrup.
  • The amount of sugar syrup used is just perfect to drench the cake.If you want the syrup to ooze out from the cake,use around a cup of sugar and water.
  • Instead of orange juice,milk can be used to mix the batter for the cake.
  • Slice the cake once its completely cool down.
  • Here I sprinkled the desiccated coconut only on the top but in some of the shops,even the sides are also coated.If you want the sides to be coated then,keep some extra syrup and dip the sides in sugar syrup and roll it in coconut.


Enjoy.....................................


Sumber http://www.naliniscooking.com